Mastering Stranded Deep Raft Building & Design Tips
Discover expert strategies for stranded deep raft building, from material choices to stability hacks and optimal layout configurations.
Published: Stranded Deep Wiki Editorial Team
Table of Contents
Essential Principles of Stranded Deep Raft Building
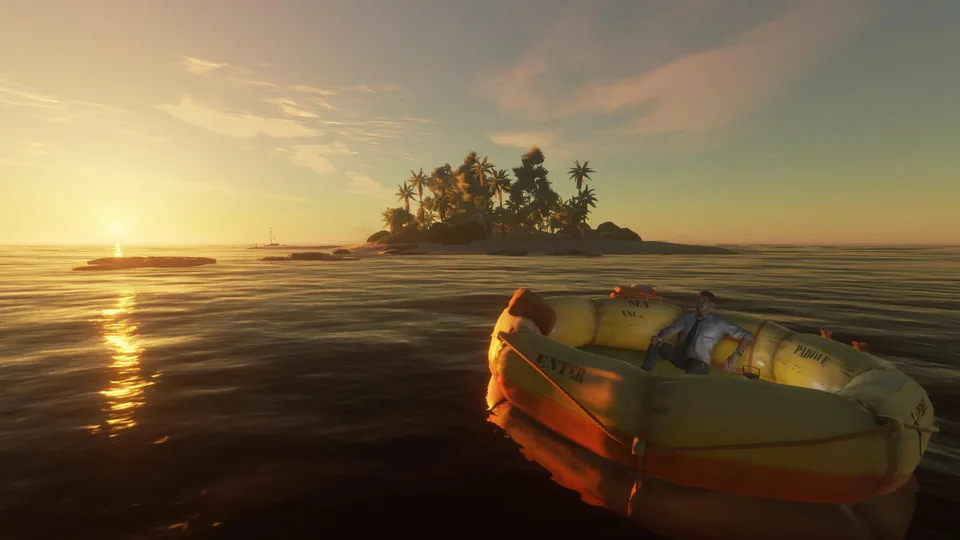
Mastering stranded deep raft building is the ultimate key to surviving the unforgiving Pacific in Beam Team Games' immersive survival title. Whether you are navigating between uncharted islands or hauling massive resource loads, your floating base dictates your safety and efficiency. Without a stable and well-configured vessel, you risk capsizing during unpredictable ocean storms or losing valuable cargo to roaming sharks. Understanding the foundational mechanics of floating platforms, buoyancy, and propulsion transforms your maritime experience from a frustrating struggle into smooth sailing.
Community reports and player experience indicate that material selection is often misunderstood by newcomers venturing into stranded deep raft building. Fortunately, you can build efficient watercraft regardless of whether you scavenge tires, wooden planks, buoy balls, or scrap barrels. This comprehensive guide breaks down proven design configurations, stability mechanics, and propulsion strategies to help you engineer the ultimate oceanic mobile base. For further official game details and community resources, you can check the Stranded Deep Steam Page.
Raft Materials, Base Costs, and Buoyancy Mechanics
When planning your naval architecture, understanding how different floor and float sections interact is crucial for maintaining balance. According to player experience, raft building materials do not inherently increase or decrease vessel performance. Your primary concern should be material availability and structural symmetry. Placing uneven sections can cause partial submersion and immediate tilting, turning your vessel into a navigational hazard.
Base Type / Material
Cost Efficiency
Buoyancy Stability
Recommended Use
Tire Base
High (Cheapest)
Moderate
Early-game starter rafts
Buoy Ball Base
Moderate
High
Mid-game exploration
Barrel Base
Low-Moderate
Excellent
Large mobile bases
Plank Floor
High
N/A (Floor only)
Lightweight decking
To maintain proper buoyancy during construction, always build as symmetrically as possible. If you add a floating section to one side, balance it with a corresponding section opposite it. Furthermore, community reports highlight that orientation matters: floor sections always snap to a specific right-side-up orientation. If a floor piece snaps to the bottom of a float, simply flip it over before placing it.
Optimal Raft Sizes and Layout Configurations
Choosing the right dimensions prevents your vessel from becoming sluggish or dangerously unstable. Testing various shapes reveals that eccentric layouts severely hinder maneuverability. Extremely narrow designs, such as a 1x15 configuration, function like tightropes and flip over instantly, making them entirely unusable in open water.
2x2 Compact Explorer
An ideal early-to-mid-game layout offering tight maneuverability and quick escape capabilities without sacrificing essential storage space.
4x3 All-Rounder
Widely considered by the community as the premier balanced design, providing ample space for container shelves, canopies, and anchors while maintaining great agility.
5x5 Mobile Base (Barge)
Designed for long campaigns, this massive layout accommodates multiple container shelves acting as makeshift walls and heavy cargo transport.
For players managing multiple watercraft across different islands, building a massive transport barge (such as an 8x5 configuration) allows you to haul smaller vessels and shark kills back to your main base. However, always wait out severe storms before transporting loose items or smaller rafts, as rough seas can cause cargo to slide off.
Propulsion, Steering, and Motor Mechanics
Navigating the ocean efficiently requires understanding how sails and boat motors interact with your vessel's weight and size. Community testing confirms that sails operate on a strict speed limit. Adding extra sails does not increase your maximum speed or acceleration; a single sail is entirely sufficient for standard voyages.
Establish Direction: Orient your primary sail forward to harness the prevailing wind for standard travel across island chains.
Implement Reverse: Place an additional sail facing the opposite direction to grant yourself reliable reverse maneuverability when docking or escaping tight spots.
Manage Motors: Use the boat motor for high-speed transit across dangerous waters, but switch to the rudder and sail for fine-tuned control when arriving at rocky shores.
Avoid Conflicts: Never activate a sail and a motor simultaneously, as the sail's resistance actively hinders the motor's output.
When managing larger watercraft, steering with a motor alone can be sluggish. Players recommend jumping onto the rudder and deploying a sail to execute sharp turns efficiently. The table below outlines propulsion performance characteristics based on community reports:
Propulsion Method
Speed
Turning Agility
Special Notes
Single Sail
Moderate
High (with Rudder)
Capped speed; additional sails add no velocity.
Reverse Sail
Low
N/A
Enables backward movement for precise docking.
Boat Motor
High
Low on large rafts
Speeds up travel; hindered if sails are active.
Dual-Facing Sails
Moderate
High
Provides versatile multi-directional control.
Utility Management and Emergency Recovery Hacks
Keeping your essential survival utilities within arm's reach streamlines long expeditions. When laying out anchors, rudders, sails, and canopies, try to position them compactly so you can access them simultaneously from the steering position. Additionally, building container shelves helps secure loose chests and prevents them from sliding during rough weather, though chests can also be wedged against shelves for extra collision security.
If your vessel capsizes during a violent shark encounter or stormy sea, recovery depends heavily on your raft's scale. Player experience shows that single-section rafts are notoriously difficult to flip over by accident, but larger structures can capsize. For standard rafts, swimming underneath and pushing upward rights the vessel. For massive barges, grabbing the edge and swimming down into the ocean depths before letting go uses a slingshot physics effect to snap the raft back upright.
Warning
Heavy cargo loads, such as shark kills or extra raft sections, will cause your vessel to submerge partially. If the entire raft sinks underwater, the rudder becomes completely useless. In this scenario, detach from the raft, swim alongside it to a nearby island, and reassess your weight distribution before continuing your voyage.
Frequently Asked Questions
Does adding more sails make your raft faster in Stranded Deep?
No, community testing proves that sails operate on a fixed maximum speed limit. Adding additional sails does not increase acceleration or top speed, meaning a single sail is all you need for efficient travel.
What is the best raft size for general exploration?
Player experience points to a 2x2 or a balanced 4x3 configuration as the most effective setups. They offer an ideal mix of stability, maneuverability, and storage space without handling like a sluggish barge.
Can sharks flip your raft over?
Yes, smaller watercraft (such as single-section or 1x2 rafts) can be capsized by aggressive sharks. However, larger mid-to-large-scale rafts are extremely stable and virtually immune to being flipped by marine wildlife.